
Javelin Throws for Beginners in Delhi: A Six-Week Path to a Clean Release
Most javelin guides online are written for people who already throw it. They open with release angle and back swing, then talk about the runway in a way that assumes you know what a straddle start is. That’s the wrong place to start if you’re new. The first year of throwing is mostly learning one thing: how to make your body move in sequence instead of all at once. Do that and the distance comes. Skip it and you’ll be throwing 40 meters forever with no way to tell why.
This guide is for people who’ve just picked the implement up, or who’ve been throwing for a few months and want to know what to fix next. It’s also for coaches working with beginners in Delhi’s growing track and field scene. No prior experience needed. If you follow the structure below and keep your weekly volume honest, you’ll see measurable movement improvements within six weeks.
Why the javelin is weird to learn
The javelin is technically one of the hardest field events to learn well. The problem is that it stacks four separate skills on top of each other: sprint mechanics, a throwing motion, a full-body rotation, and a timing sequence that has to hit a specific window. Most other events isolate one or two of those. A shot put is power and timing. A discus is rotation and release. The javelin needs all four, and it needs them in the right order every single throw.
That’s also why the event rewards patience. When you’re new, the throws feel messy because your body is juggling too many moving parts at the same time. That’s not a talent problem. It’s a sequencing problem. Coaches who understand this build their first few months around movement quality, not distance. Coaches who don’t will have you do long throw reps early and you’ll burn out, get injured, or just get worse with volume because every rep cements the wrong pattern.
The second reason the javelin is awkward to learn is that most of the learning is invisible. You can watch a good thrower and it looks smooth. You can watch a new thrower and it also looks mostly smooth. The difference is in the last two seconds of the throw, and specifically in the transition from run to release. If you don’t have the eye to see it, you can’t self-correct. That’s where a coach or video becomes genuinely valuable, not decorative.
The five phases of a throw, in plain language
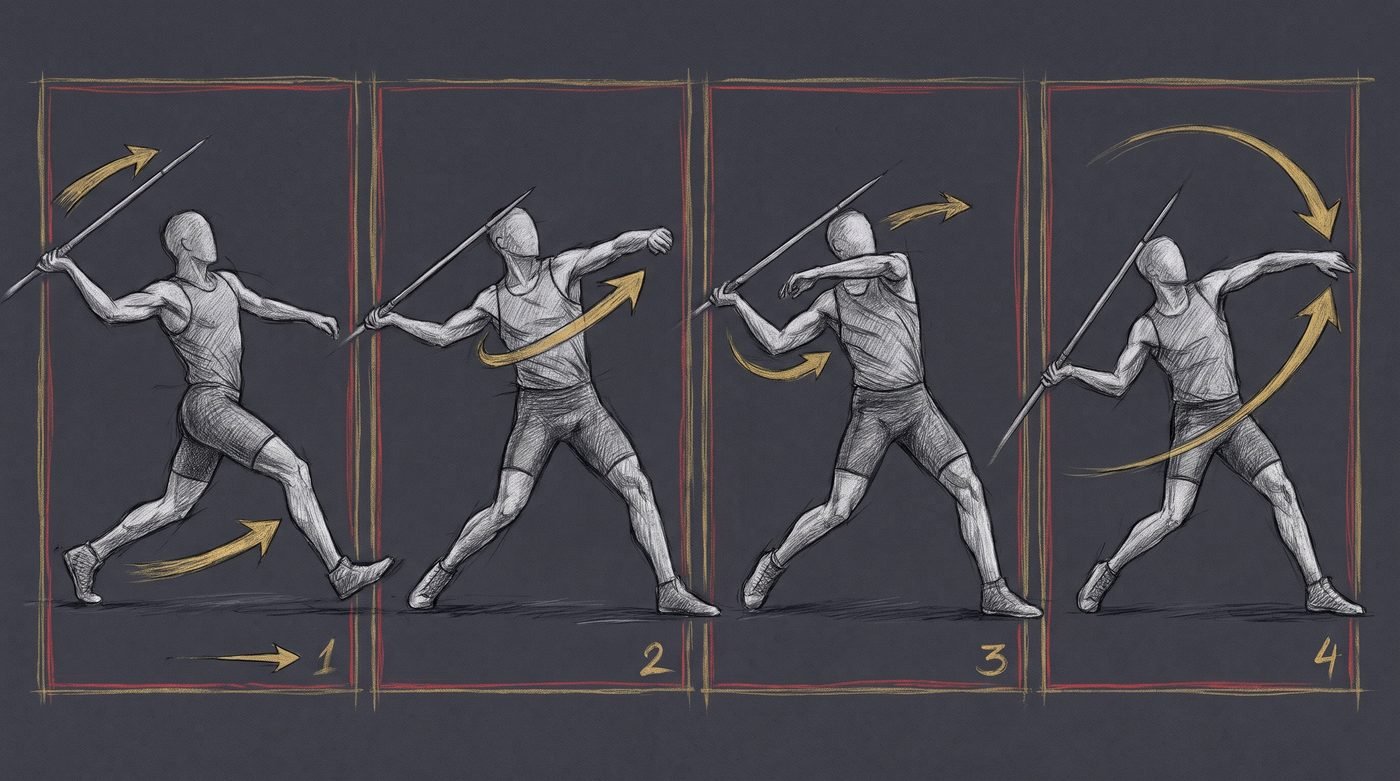
Every javelin throw has the same five phases. Your run-up has to get you into the right body position. Your straddle puts your hips over the throwing side leg. Your back swing loads the muscles that will do the work. Your arm and shoulder release the implement. And your back extension and landing finish the motion so your momentum carries through instead of stopping at the release point.
Phase one is the run. Most beginners do this fine, because it’s just running. The mistake is running fast from the start. The javelin run is not a sprint. It’s an acceleration phase that builds smoothly to a hard final step. The last two to three steps of the approach should be your fastest. Before that, you’re building speed, not spending it. If you arrive at the straddle already maxed out, you don’t have anywhere left to go, and your whole throw chain loses power.
Phase two is the straddle. This is the step where your non-throwing side crosses over and your hips sit on top of your throwing side leg. For right hand throwers, the left leg crosses in front of the right, and your hips drop down onto the right leg. The purpose of this step is to load your leg like a spring. Your throwing side knee goes up and forward, your hips drop, and your chest opens toward the throwing side. If the straddle is shallow or late, you don’t build that spring, and the whole throw gets weak.
Phase three is the back swing. This is where you create your throwing space. As your hips rotate over the straddle step, your arm and javelin start moving up and back, and your chest opens wide. The back swing is not a separate move you do on purpose. It’s the natural result of the straddle working well. If your hips load properly, your arm has somewhere to go and the back swing takes care of itself.
Phase four is the release. The front part of your arm, the elbow, and the tip of the javelin have to line up with the throwing line at the exact moment of release. Your shoulder leads, the elbow follows, and the wrist snaps through at the very end to add a bit of spin. If the javelin is pointing even slightly off line at release, it loses power and drifts. This is the phase most beginners get wrong, and it’s the one that shows up most clearly on video.
Phase five is the back extension. After release, your body has to keep moving forward. Your throwing hand finishes high, your back arm finishes low, and your hips push through so your momentum carries past the release point. Many beginners stop at the release, and that costs them distance. The throw isn’t over when the javelin leaves your hand. It’s over when you’ve finished the follow-through.
The first three things to fix, in order
If you’re new and you’re not sure where to start, fix these three in this order. They’re not random. Each one sets up the next.
First, fix your straddle. Everything in the javelin throw depends on that step being loaded properly. If your straddle is weak, your back swing has no foundation, and your release has no power. You’ll feel the difference in the release window, which gets much narrower when the whole front of the body is loaded. Spend the first two to three weeks doing straddle reps without a javelin, just the step, with your hands on your hips. Get the hips dropping on the throwing side leg and the chest opening before you even pick up the implement.
Second, fix your arm position at the straddle. This is the one most people skip. At the moment of the straddle, your throwing hand should be up and behind your head, and the javelin should be pointing down and back toward the ground. If your hand is already forward at the straddle, you’ve lost the back swing. You don’t have a space to generate the throw. Check this on video. Most new throwers think their hand is up when it isn’t.
Third, fix your wrist snap. This is the last piece of the release. Your shoulder and elbow do the power, and your wrist adds the final snap that puts the spin on the javelin. A new thrower usually has a loose wrist, which costs two to four meters on the throw. Work on the snap in isolation before you put it on a full throw. Throw a light weighted ball with an overhand motion and focus on the hand staying supple until the very last moment.
For a full breakdown of how to progress any throwing or pulling skill over time, you’ll want to look at our progression framework. It’s not specific to javelin, but the principle of adding load and complexity in stages applies directly to throwing.
A six-week beginner schedule
This is a conservative, beginner-appropriate schedule. It assumes you can commit two to three sessions a week, roughly 60 to 90 minutes each. It’s not designed to build distance fast. It’s designed to build the movement so your distance can grow without you breaking.
Weeks one to two are straddle and run-up only. No javelin throws. Do 10 straddle reps, 10 short sprints, and 5 full run-up attempts without a javelin, then walk back and repeat. End with a light mobility routine. The goal is to make the straddle feel automatic. By the end of week two you should be able to straddle, back swing, and release in sequence without thinking about it.
Weeks three to four add the javelin, but only light implements. You can use a lighter training javelin, a weighted stick, or even just your hands if you don’t have one. Do 15 to 20 light throws per session, and focus on the release window, not the distance. Video every session and check the last two seconds. Are your shoulder, elbow, and javelin aligned? Are you finishing the back extension? Those are the two things to check.
Weeks five to six move to a full competition weight javelin, and you start doing 12 to 15 full throws per session, alternating with run-up only reps so you’re not doing 15 in a row. End the session with a short mobility cool down. By the end of week six, if you’ve kept the movement quality up, your throws will start to look smooth and you’ll have a baseline distance to track against.
For more on building a consistent strength foundation to support the throwing motions, see our squat guide. Squat strength is what keeps your hips and legs stable through the straddle step. Without it, the load on your throwing side leg gets sloppy and the whole chain falls apart.
For a general beginner’s structure on how to set up a weekly program, our beginner workout split gives you the same “frequency over volume” logic that applies to throwing.
Common beginner mistakes, and what they look like on video
Here are the mistakes we see most often in the first six months of javelin work. If you’re doing these, your throws will stall at some point until you fix the underlying issue.
One: your hand is down at the straddle. It should be up and behind your head. When it’s down, you don’t have the back swing, and the whole throw gets weak. Fix: do straddle reps with hands explicitly placed high, and build the habit before you add the javelin.
Two: your front shoulder is open too early. You should rotate through the throw, not before it. If your chest is pointing forward at the back swing, your shoulder can’t load. Fix: practice the back swing motion without the javelin, focusing on keeping your chest open during the straddle and only rotating through the release.
Three: your running foot lands on the outside edge. This is a subtle point, but it matters. Your straddle foot should land with the toe pointing slightly down and inward so your hip can rotate over it. If your foot lands on the outside edge, your hip can’t rotate, and the whole throwing chain loses its base. Fix: practice landing the foot with the toe pointing down and slightly toward the inside.
Four: you stop at the release. The back extension is not optional. If your throwing hand finishes low and your body stops at the release point, you’re losing three to five meters on every throw. Fix: at the end of each throw, hold the finish position for two seconds and check your hand. It should be high, and your body should be pushing forward past the release point.
Five: your javelin is not pointing down and back at the straddle. It should be pointing toward the ground, not up and forward. If it’s pointing forward, you’re starting the back swing too early, and the throw gets weak. Fix: check the javelin angle on video at the straddle moment.
For the full hip hinge and back extension mechanics in a different lift, see our deadlift training guide. The hip hinge and back extension principles are very similar, and the same “load the hips, then rotate through” logic applies to both.
How to track progress without a coach
The most useful tracking for a new thrower is a simple log, not a big spreadsheet. Three columns: date, what you did, and what you noticed. The “what you noticed” part is where you catch the real progress. A throw that felt smoother is useful data. A throw that felt stiffer is useful data too. Over six weeks, patterns will show up.
Here’s a minimal log that works: session date, number of throws, and the first throw you felt good about, plus a short note on why it felt good. That’s it. No need to measure distance every session. Distance is a result, not a cause. You’re training the movement, and the distance will follow if the movement is clean. Check distance once a week, not every session.
The single most useful thing you can do between sessions is watch your video. You don’t need to watch every throw. Watch the last two seconds of the throw and look for the release window: is your shoulder, elbow, and javelin aligned? Is your hand finishing high? These two checks catch 80 percent of the issues a new thrower has.
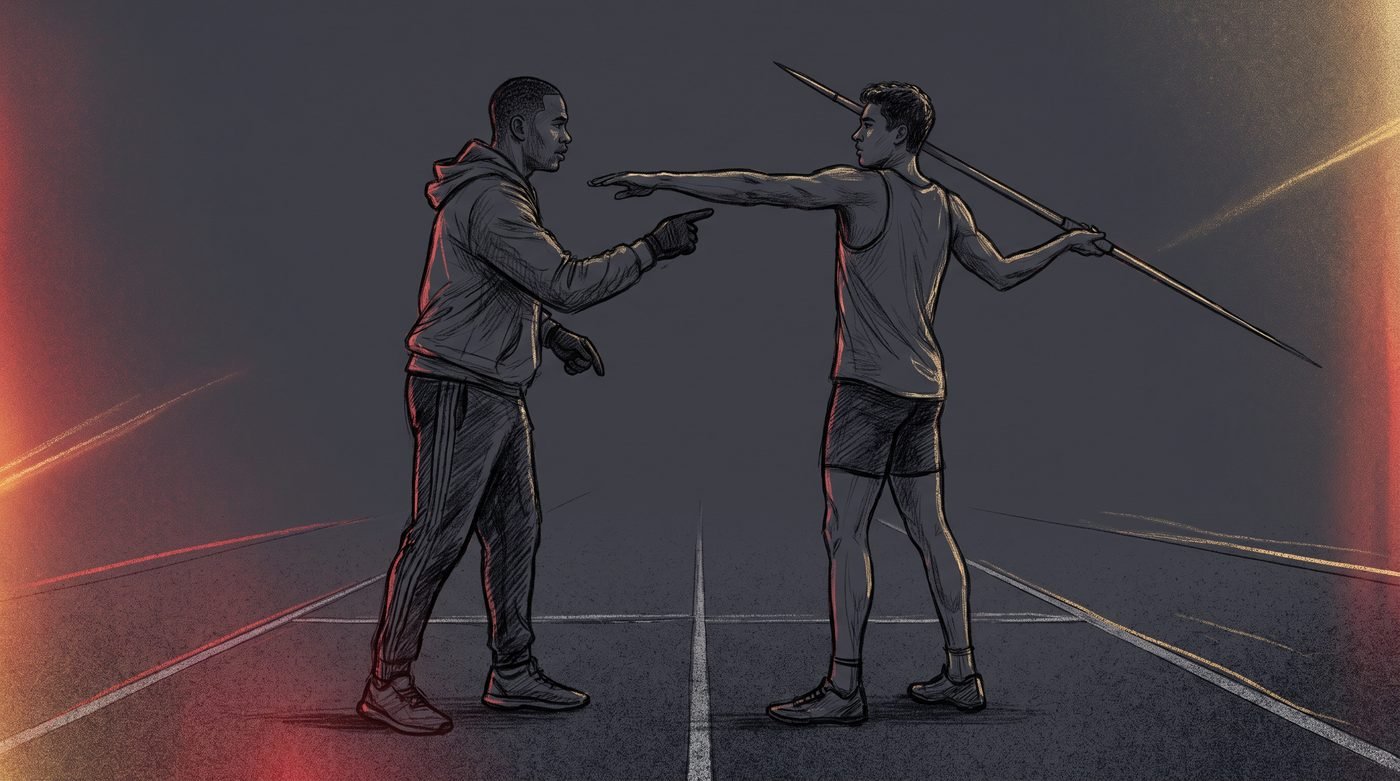
If you can get a coach for even two sessions a month, that’s the highest value use of coaching money for a beginner. They’ll see in thirty seconds what you’ve been unable to notice for six weeks. It’s not about them telling you what to do. It’s about them pointing at the one thing that’s off and fixing it while it’s fresh.
What to do when you hit a plateau
Most new throwers hit a plateau around week six to eight. Your throws start to feel the same as they did two weeks ago, and the distance stops moving. That’s not a failure. That’s the point where the easy progress runs out and you have to be deliberate about what to fix next.
When you hit the plateau, go back to the last three weeks of your log and look at what you noticed. If you noted that the throws started feeling stiffer, your back extension has probably gotten weaker. If you noted that the release window was getting narrower, your straddle has probably gotten late. The log will tell you where the stall is, and the fix will be specific.
If you’re not logging, you’re guessing. And guessing is how javelin throwers stay stuck for years. The event rewards patience and specificity. The two things that keep beginners stuck are the lack of a log and the habit of changing three things at once instead of one.
How much volume is actually enough
This is the question new throwers ask most: how many throws should I do? The honest answer is that it depends on your current movement quality more than your ambition. If your throws are sloppy, more throws just make the slop deeper. If your throws are clean, more throws will build strength and distance faster.
As a starting point, two to three sessions a week is the right volume for a beginner. Each session should have 15 to 20 quality throws, not 50 half-throws. The quality is the point. You’re building the movement, not building fatigue. After six to eight weeks, you can start adding a fourth session, or increasing the throw count, but only if the first three sessions have become clean.
The biggest mistake new throwers make here is adding a fourth session right after week two, when the movement is still sloppy. The javelin is unforgiving of sloppy repetition. One more clean session beats one messy one every time.
How to work with a coach on the javelin
The most common coaching mistake we see is a coach who works the throw as a whole, without isolating the parts. That’s not useful for a beginner. A beginner needs the straddle, the back swing, the release, and the back extension worked separately, with the movement quality checked at each stage, before you put them together.
When you’re looking for a coach, ask one question: “How do you break down the javelin for a beginner?” If the answer is “run-up, straddle, release” and they stop there, you’re going to get stuck. A good coach will walk you through the four phases of the throw and tell you what they’d isolate first, second, and third. If they can’t articulate that, they’re not the right coach for a beginner, even if they have a big distance behind them.
The best coaching for a new thrower is also high frequency, not low frequency. Three short sessions a week where each one has one focus is much more useful than one long session a week where you cover everything. The javelin is a skill with a lot of moving parts. Short, focused reps are where the learning happens. For more on what to look for when choosing a sports performance coach in Delhi, see our athlete coach guide.
FAQ
How long does it take to learn to throw the javelin well? The honest answer is that “well” depends on what you mean. For a beginner to get a clean throw and a consistent release window, six to eight weeks is realistic. To build a meaningful throwing distance, six to twelve months of consistent work is more realistic. The movement is the first thing. The distance is the second.
Can I learn the javelin without a coach? You can learn the basics without one. The run-up and the back swing are teachable from video and from a log. The release window and the back extension are harder to self-correct. The most useful use of a coach is to catch the release window issues, and that shows up clearly in the last two seconds of the throw.
How many throws should I do per session? Two to three sessions a week, 15 to 20 quality throws each. Quality over volume is the principle. If your throws are sloppy, more throws will just make them more sloppy. Build the movement first, add the volume second.
What should I check on video? Two things: the release window, which is whether your shoulder, elbow, and javelin are aligned at release, and the back extension, which is whether your throwing hand finishes high and your body keeps pushing forward past the release point. These two checks catch most of the issues a new thrower has.
When should I add weight to the javelin? Wait until your throwing technique is clean and consistent. Adding a heavier implement before the movement is solid just makes the bad movement heavier. A lighter javelin with a clean release will beat a heavy javelin with a sloppy release every time.
How do I know if I’m making progress? Watch your log, not your distance. A throw that felt smoother is useful data. A throw that felt stiffer is useful data too. Distance is a result. The movement is the cause. Track the movement, and the distance will follow if the movement is clean.