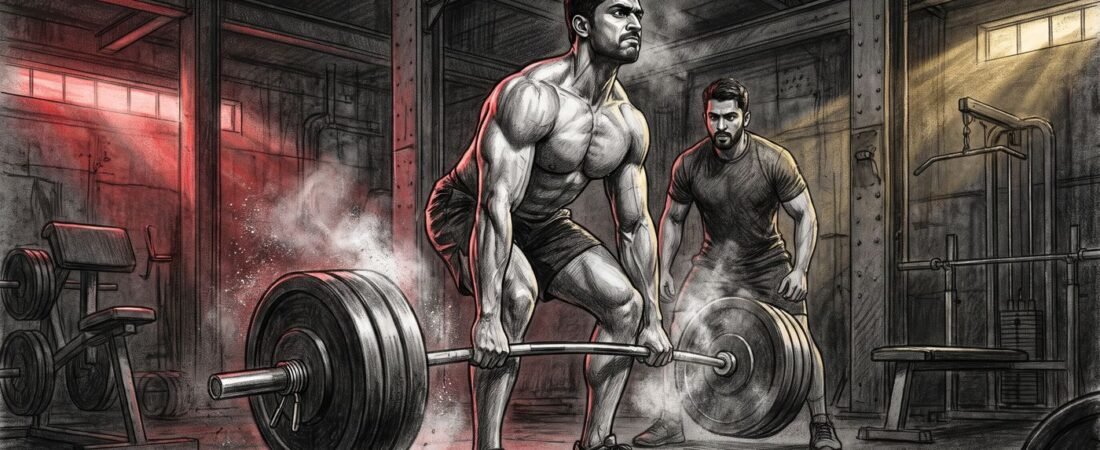
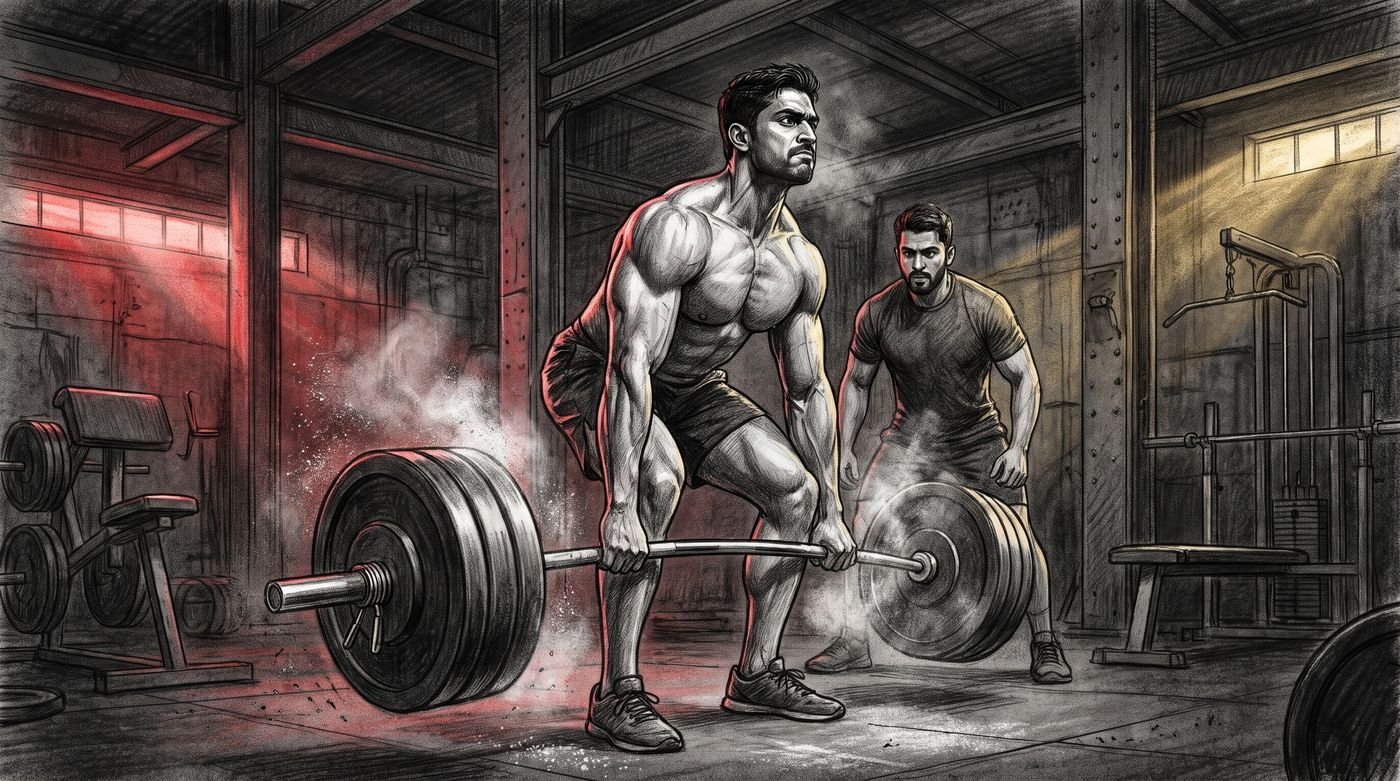
A deadlift is the one lift where the bar starts and ends on the floor. No other movement gives you that range: it trains the entire posterior chain, the grip, the midline, and the ability to drive force into the ground. It is also the one beginners fear most, usually for the wrong reasons. A deadlift done right is not violent. It is slow, patient, and technical, and the people who learn it well are the people who learn it carefully.
Why the deadlift matters more than it looks
Most gym-goers treat the deadlift as the “heavy test” at the end of a session. In practice it is the most practical compound pattern in the gym. You use it when you carry a heavy suitcase, lift a child, move furniture, or pick up a gym bag. The motion trains your midline the way a lunge trains your legs: as a stable, vertical chain that resists collapse.
Research on resistance training consistently shows the deadlift activates the glutes, hamstrings, and erectors at higher absolute loads than isolation machines. For a beginner, that means a single deadlift session delivers more posterior chain stimulus than three isolation movements. It is one of the most efficient movements in the gym, provided the setup is sound.
Grip options: double overhand, mixed, or straps
The standard starting grip is double overhand, palms facing you. It looks unglamorous and it will feel uncomfortable within the first few sets. That discomfort is normal. Beginners usually fail the set because the hands let go before the legs finish, and that is actually the most useful failure signal you will get: it tells you exactly where to add volume next session.
A mixed grip, one palm over, one under, buys grip stability at heavier loads but introduces an asymmetry that can stress one biceps tendon if used every session. Beginners do not need it early. If the bar rolls off your hands at 40-60kg, add a light pair of lifting straps for the top sets and keep double overhand for the working sets. Straps are a tool, not a training crutch, and using them sparingly keeps your actual grip honest.
Setup: where the bar actually sits
Stand with the bar over the midfoot, not under your shins. Your feet should be hip-width or slightly narrower, toes turned out 5-10 degrees. Your shins are not the bar path: the bar should stay in contact with the front of the shins at the start, then clear the legs as you drive. If the bar starts too far back, your lower back does more work than it should. If it starts too far forward, your hips will stall mid-pull.
From that position: bend down, hinge at the hips, keep the back flat, take the weight off the heels, and grab the bar. Your scapulae should sit over the bar, not behind it, and your head should face the floor, not forward. The common “looking up at the bar” error pushes the upper back into extension and loads the cervical spine. Eyes on the floor, chest proud, and the lift will move better.
Before you pull, breathe into your lower ribs and brace. The feeling you are looking for is a belt tightening around your waist. That intra-abdominal pressure is what keeps your spine rigid while the bar moves. Without it the back rounds at the hardest part of the lift, and with it the deadlift becomes a stable, powerful extension of your own frame.
The lift: what actually happens from floor to lockout
The deadlift has three distinct phases, and beginners usually mix them up. Phase one is from the floor to the knee. The legs push the bar up, the hips stay high enough to keep tension, and the back stays flat. Phase two is from the knee to the mid-point. This is where the bar clears the legs and the hips begin to drive forward. It is the most technically demanding part, and it is where rounding happens if the hips rise too fast. Phase three is the lockout. Hips fully extended, glutes squeezed, shoulders back under the bar.
A common mistake is trying to drive the hips up first and “pull” the bar with the back. The bar should move with the legs; the back is a rigid frame that transmits force, not a prime mover. If your hips shoot up before the bar clears the knees, you have turned a deadlift into a stiff-legged row, and your lower back will pay for it over time.
Common beginner mistakes (and how to fix them)
Rounding the back under load. The fix is reducing the weight, not changing the technique. A deadlift with a rounded back at 40kg teaches the spine to collapse; a deadlift with a flat back at 60kg teaches it to hold. Start lighter, hold the position, and let the weight catch up to the technique.
Shin gap at the start. If there is a gap between the bar and the shins, the bar path is off. Step back, widen your stance slightly, and let the bar touch the front of the shins at setup. A small adjustment here fixes a huge amount of mid-pull instability.
Hips rising before the bar clears the knees. This is the “hip pop” that turns the lift into a good-morning. The cue is “push the floor away.” Focus on driving the feet into the ground and let the hips follow the bar’s rise rather than leading it.
Not bracing. A flat-looking back with no intra-abdominal pressure collapses at the weakest point. Practice the brace before every set: inhale into the lower ribs, tighten the abdominal wall, and hold. If the brace fails mid-rep, the rep fails. That is a useful signal.
Chasing one-rep maxes too early. Beginners who hit a max on day three build bad habits fast. The first 6-8 weeks should be about reps: 3-5 sets of 3-6 reps at a weight that keeps the spine flat and the bar path vertical. Max attempts are a later tool, not a starter.
Progression: how to add weight without breaking form
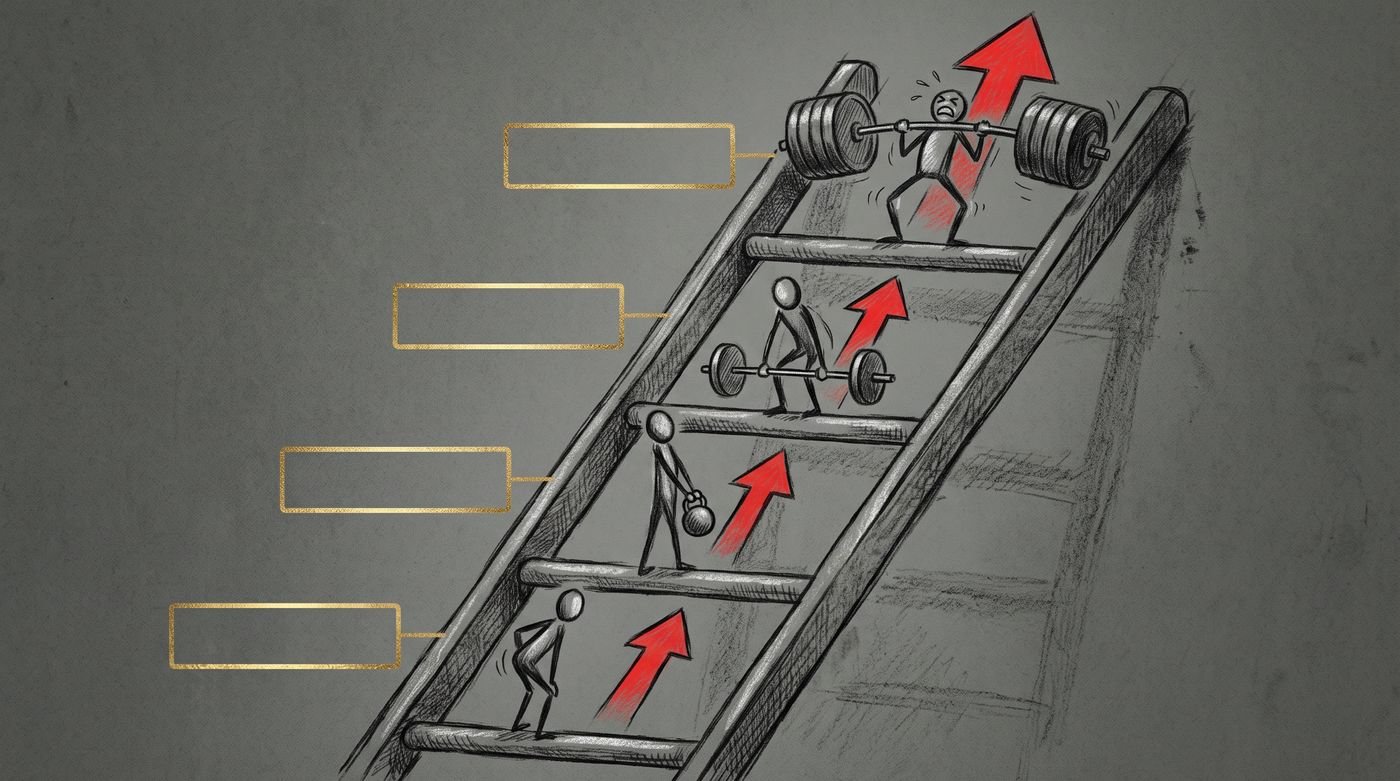
Deadlift strength grows quickly when the setup is clean. A realistic progression for a beginner: start at 40-50kg for 3×5 reps, hold that for two weeks while the movement gets easier, then move to 55-60kg for 3×3, then 60-70kg for 3×2. The key is that every weight jump should still feel “the same effort.” If a new weight suddenly feels heavy, the technique is probably slipping.
Track the top set of each session. If 3×5 at 50kg feels easy, move to 55kg next session, not 60. One small jump at a time keeps the spine in the pattern and prevents the “I’m stronger than I think” trap that sends beginners to injury at 80kg.
Pair deadlifts with a secondary movement each session. Rows train the upper back and keep the rear delts and biceps in the loop. A light set of RDLs or a kettlebell swing adds volume without the spinal load of a heavy deadlift. Two days of posterior chain work per week, with deadlifts on one of them, is the sweet spot for a beginner.
How to train the deadlift safely in Delhi
The deadlift is a movement that rewards coaching and punishes guesswork. In a Delhi gym, a personal trainer who watches your setup can catch a shin gap or a rounded back within the first two sessions. That is cheaper than six months of building a habit you have to undo later. If you are already following a structured split, the deadlift slots in as the primary pull, and a trainer helps you sequence it so you are not fatigued from barbell rows.
Richi Fitness in Delhi runs one-to-one sessions where the deadlift is built from the ground up: setup video checks, progressive loading, and a progression plan you can track between sessions. If you want to learn the lift properly instead of guessing, that is the starting point.
Frequently asked questions
Is the deadlift dangerous for beginners? No. Deadlifts are safe when volume is low and technique is coached. The risk comes from rounding the back under load and from training alone without feedback. A qualified trainer catches faults early and loads the bar gradually.
How heavy should a beginner deadlift start? Start at the barbell’s 20kg or a loaded goblet-style weight. Work up in 5-10kg jumps only when every rep keeps a rigid spine. Most beginners reach 40-60kg within 4-6 weeks of consistent training.
How often should a beginner deadlift? One to two sessions per week with at least 48 hours between. Deadlifts are high-velocity for the posterior chain, so recovery matters as much as the lift itself.
Should I wear a belt when I start deadlifting? No. Belts help at heavier loads, but early on they build a crutch that hides poor bracing. Learn to brace with your abdominal wall first, then add a belt once weights climb.
What is the difference between a conventional and a sumo deadlift? Conventional uses a shoulder-width stance with the bar over the midfoot. Sumo uses a wide stance with feet turned out. Both work the same muscles; beginners usually tolerate conventional better and learn it first.
How much should I deadlift at 60kg bodyweight? A solid first barbell deadlift for a 60kg beginner is 40-50kg. Strength improves steadily with practice, and most trainees double their first lift within 6-12 months.
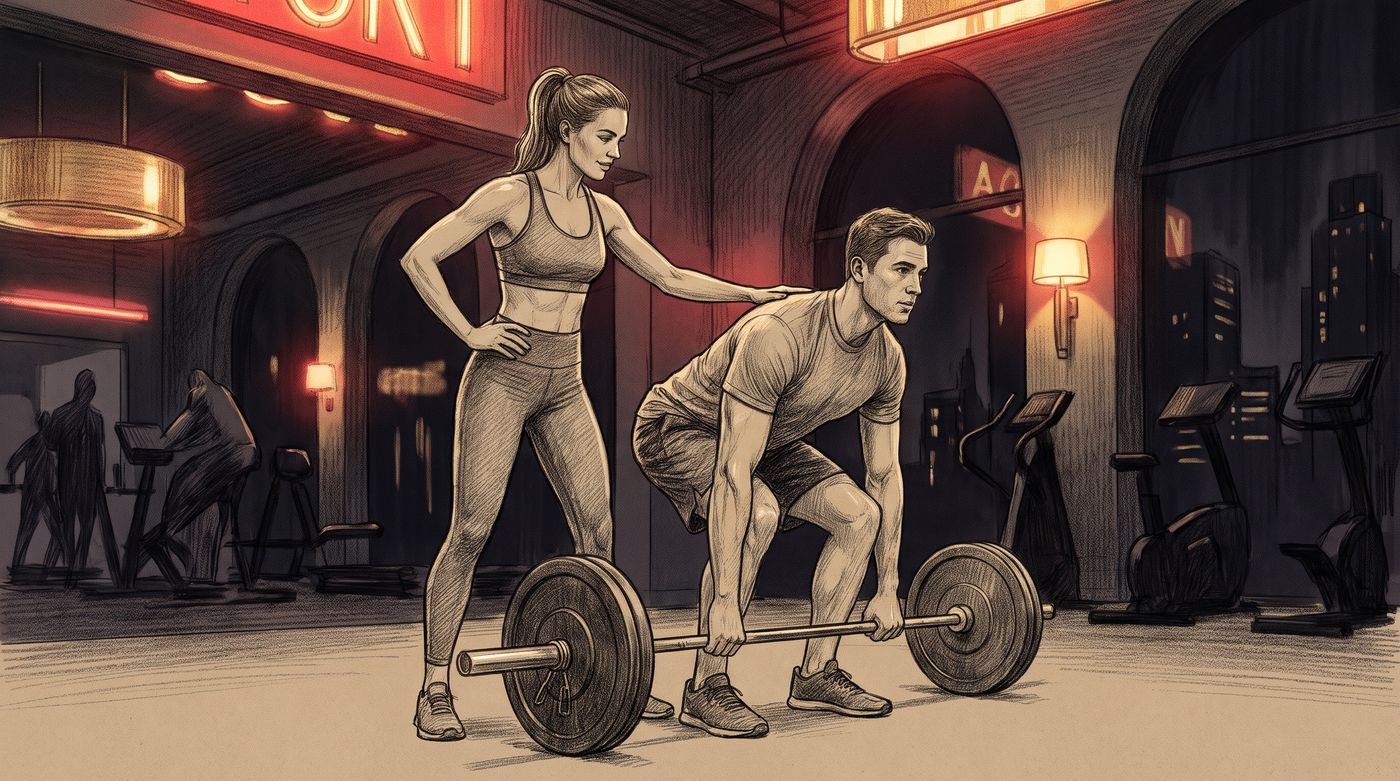
Ready to build a deadlift that stays flat, strong, and injury-free? Find a personal fitness trainer in Delhi who will coach your setup from day one and build a progression plan around your bodyweight and history.
More on building a base: How to do squats properly and Best workout split for beginners are the two articles that pair best with this one. If you want the full pull-up progression, see How to progress assisted pull-ups to strict.